 คู่มือการติดตั้ง UniFi Controller ใน Docker ลงบน Synology NAS
แหล่งที่มา :
https://miketabor.com/running-ubiquiti-unifi-controller-in-docker-on-synology-nas/
แหล่งที่มา :
http://informatech.info/threads/how-to-install-ubiquiti-unifi-controller-in-docker-on-synology-nas.1499/
คำถาม
ถ้าต้องการจะติดตั้ง UniFi Controller ลงบน Docker ในอุปกรณ์ Synology NAS สามารถทำได้อย่างไร ?
คำตอบ
How to install Ubiquiti UniFi Controller in Docker on Synology NAS
I’ll assume your Synology NAS does support Docker and you’ve already installed the Synology Docker app on your Synology NAS.
1. SSH into your Synology NAS using PuTTy or other terminal of your choice, login using your account with admin access.
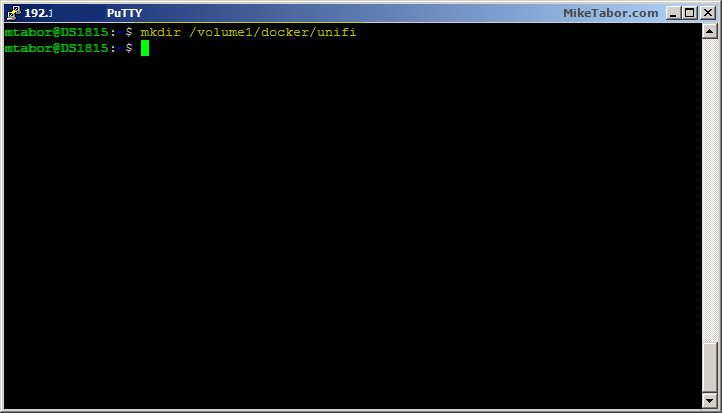
2. First lets create a new folder called “unifi” located in “docker“, this will be used to store all our UniFi Controller configs, so when we upgrade the Docker container our configs remain in place. (Replace volume1 with your desired volume)
mkdir /volume1/docker/unifi
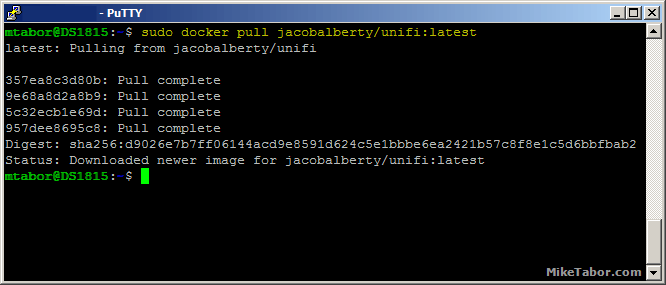
3. Now lets pull, or download, the UniFi Controller Docker container from the Docker Hub by typing the following command:
sudo docker pull jacobalberty/unifi:latest
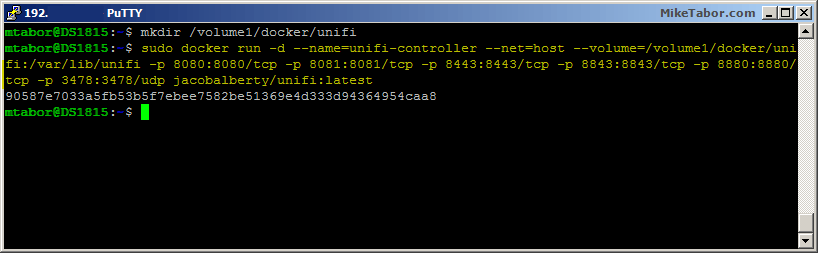
4. Next lets run the new UniFi Controller container by typing the following, again replacing ‘volume1‘ with the volume you create the unifi folder on.
sudo docker run -d --name=unifi-controller --net=host --volume=/volume1/docker/unifi:/var/lib/unifi -p 8080:8080/tcp -p 8081:8081/tcp -p 8443:8443/tcp -p 8843:8843/tcp -p 8880:8880/tcp -p 3478:3478/udp jacobalberty/unifi:latest
5. Now finally, open a web browser and go to: https://
:8443
Configuring Ubiquiti UniFi Controller in Docker
Now we’ll just need to finish the UniFi controller setup by following the wizard once you’ve loaded https://:8443 in your browser from the above steps.
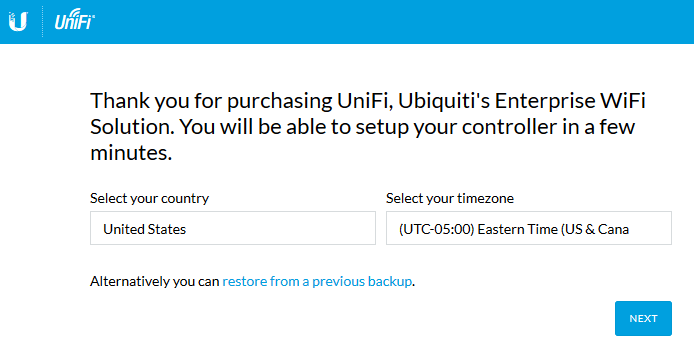
1. First, set your country and timezone then click Next.
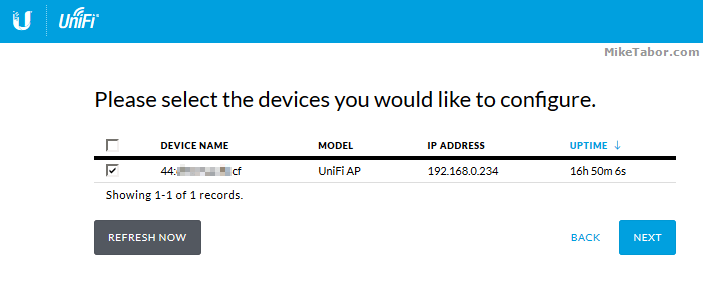
2. The UniFi controller will automatically find any access points on the same network, select the access point you’d like to configure for the Docker UniFi controller to manage and click Next.
3. Enter the SSID you’d like your wireless network to be named and a password then click Next.
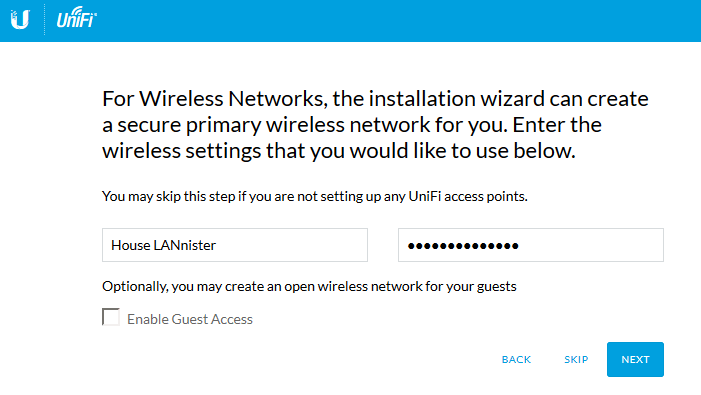
Optionally, you can also configure a guest wireless as well by checking the “Enable Guest Access”.
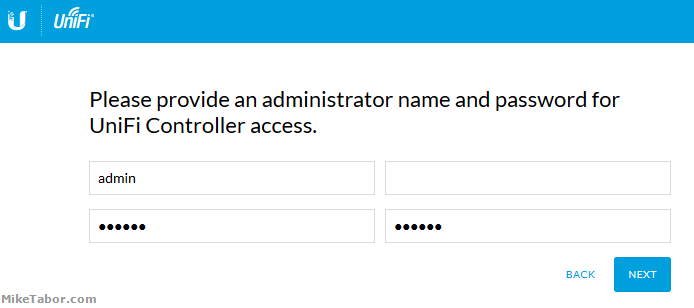
4. Now set the login user and password. This will be used to access the Docker UniFi Controller management page. Then press Next.
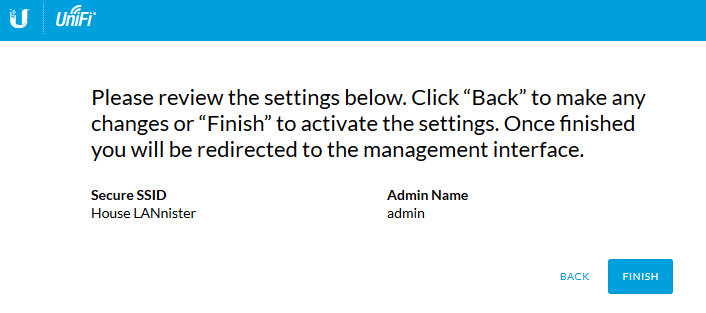
5. Finally, review that the SSID and User names both look correct then press Finish.
Once the wizard has completed your Ubiquiti access point will be adopted, configured and ready to connect to from any of your wireless devices.
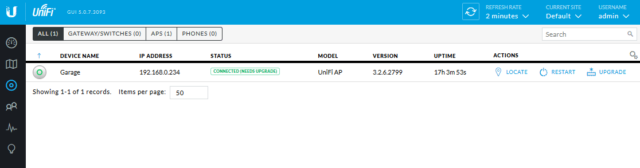
It is a good idea to log into the UniFi Controller management page (https://:8443) and check the firmware status of the access point. As shown below the access point is still functioning but also showing us that a upgrade for the access point is available. Simply click on the “Upgrade” link and the UniFi controller will automatically upgrade it within just a few minutes.
จบบทความ
Back to XPERT ZONE